Table of Contents
Your car endures a lot -- road grime, bird droppings, UV rays, and everyday dust. A professional detail can cost several hundred dollars, but with the right technique and tools, you can achieve that showroom finish yourself. In this guide, we break down the five essential stages of a pro-level car detailing process. Whether you're prepping for a sale or just want to protect your investment, these steps will give your ride a deep, lasting clean.
According to the International Detailing Association, proper car detailing can increase a vehicle's resale value by up to 10% and extend the life of paint and upholstery by years.
1. Wash and Decontaminate the Paint
The foundation of any great detail is a thorough wash that removes surface dirt without scratching the paint. Start with a two-bucket wash method: one bucket for soapy water, another for rinsing your microfiber wash mitt. Use a pH-neutral car shampoo to avoid stripping wax. Rinse the car with a pressure washer or hose, then wash from top to bottom, rinsing your mitt frequently.
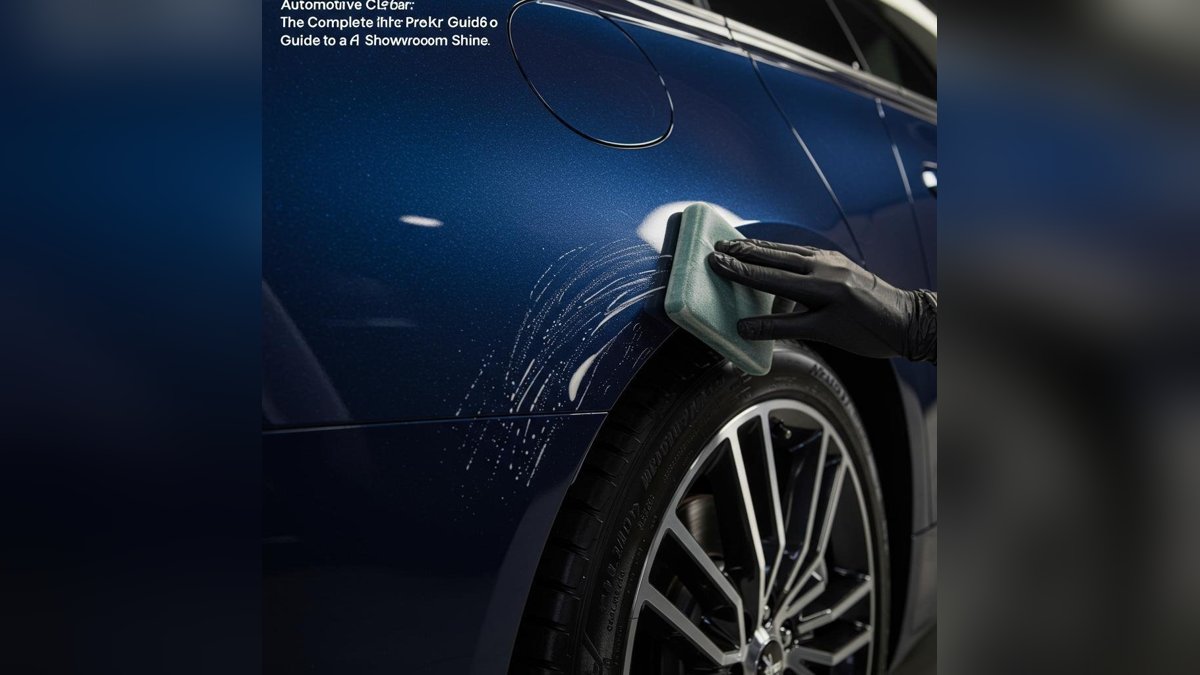
After washing, you need to remove bonded contaminants that soap can't lift. Use a clay bar and lubricant. Glide the clay bar over the paint in straight lines -- you'll feel it dragging as it picks up embedded particles. This step is critical for a smooth surface before polishing or waxing. Always fold the clay to expose a clean surface.
For wheels and tires, use a dedicated wheel cleaner and a stiff brush. Brake dust contains iron particles that can bake onto the finish. A good iron remover spray will turn purple as it reacts with contaminants. Rinse wheels last to avoid splashing grime onto clean paint.
2. Paint Correction - Remove Swirls and Scratches
Even careful washing leaves micro-marring. To restore a deep, reflective shine, you need to polish the clear coat. For beginners, a dual-action (DA) polisher is safer than a rotary. Pair it with a medium-cut polish and a foam pad. Work in small sections (about 2x2 feet) on low speed first to spread the polish, then increase speed to 4-5 and make overlapping passes with light pressure.
After polishing, wipe off residue with a clean microfiber. Inspect under bright light -- you should see a dramatic reduction in swirl marks and light scratches. If deeper scratches remain, you may need a more aggressive compound or wet-sanding, but that's for advanced detailers. For most daily drivers, a single-stage polish will transform gloss.
Finish with a pre-wax cleaner or panel wipe to remove any remaining oils. This ensures your protective layer bonds properly. Always wear gloves and work in a shaded area -- direct sun can cause polish to dry too fast and become difficult to remove.
3. Apply a Protective Coating - Wax, Sealant, or Ceramic
Now your paint is pristine, you must lock in that shine. Choose your protection based on durability and effort:
- Carnauba wax: Deep, wet look but lasts 4-8 weeks. Easy to apply by hand.
- Synthetic sealant: Lasts 4-6 months, great UV protection. Apply with a foam applicator.
- Ceramic coating: Semi-permanent (1-5 years), extremely hydrophobic, but requires precise application and curing conditions.
Whichever you choose, apply in thin, even layers. For spray wax or sealant, mist onto the panel and wipe off with a dry microfiber. For liquid wax, apply with a damp applicator pad in a cross-hatch pattern. Let it haze, then buff off. Do one panel at a time and remove before it dries completely.
Don't forget wheel faces - apply wheel wax or sealant to make future brake dust cleaning easier.
4. Deep Clean and Condition the Interior
A showroom shine isn't just about paint. Address the interior with the same attention to detail. Remove all floor mats and vacuum thoroughly, including under seats and in crevices. Use a detail brush and compressed air to dislodge crumbs from seams. Pay special attention to the area around the center console and seat tracks, where debris tends to accumulate.
For fabric upholstery and carpets, use an upholstery cleaner and a drill-mounted brush to agitate stains. Extract with a wet/dry vac or a dedicated extractor. For leather seats, clean with a pH-neutral leather cleaner using a microfiber, then apply a leather conditioner to prevent cracking and restore suppleness. Avoid silicone-based dressings that make seats slippery.
Clean all hard surfaces - dash, door panels, console - with a mild all-purpose cleaner (diluted) or dedicated interior cleaner. Use a soft brush on vents and buttons. Finish with a UV protectant for plastics and vinyl to prevent fading and cracking. Glass cleaner on interior windows finishes the look. Use two microfiber towels - one for cleaning, one for buffing - to avoid streaks.
5. Final Touches - Glass, Trim, and Tires
The final stage elevates a good detail to a great one. Clean all exterior glass with a dedicated glass cleaner and a waffle-weave microfiber. For water spots, use a glass polish or a 50/50 vinegar-water solution. Apply a glass sealant or rain repellent for better visibility in rain.
Restore black plastic trim and bumpers with a trim restorer or ceramic coating designed for plastics. Apply sparingly and wipe off excess immediately to avoid blotching. For rubber seals around doors, apply a silicone lubricant to keep them pliable and quiet.
Finish the tires with a tire dressing - water-based or gel. Water-based dressings are safer for the environment and leave a cleaner, more natural finish. Apply to a sponge or applicator and spread thinly. Avoid heavy oil-based dressings that sling onto the paint. A matte finish looks more natural and professional than high-gloss.
After all that, step back and admire your work. Park in the shade or under a cover to keep your efforts protected. A pro-level detail done three times a year can maintain that just-detailed feeling and protect your car's value for years. Once you master these five stages, you can achieve professional-quality results in under two hours every time, saving hundreds of dollars compared to professional detailing services.
Interior Detailing: Bringing the Cabin Back to Life
A professional-level interior detail transforms the driving experience and protects your vehicle's resale value. Start by removing all floor mats and shaking them out, then vacuum them thoroughly with a stiff brush attachment. For carpeted mats, consider using a carpet extractor or a steam cleaner to lift embedded dirt and stains. Vacuum the entire interior from top to bottom, beginning with the headliner and working down to the carpets, using different attachments for tight spaces between seats and along the center console. For leather seats, use a pH-neutral leather cleaner applied with a microfiber applicator pad, followed by a quality leather conditioner that prevents cracking and fading. Fabric seats benefit from a gentle upholstery shampoo applied with a soft brush, followed by extraction with a wet-dry vacuum to remove both dirt and cleaning solution residue.
Engine Bay and Exterior Finishing Touches
A complete detail is not finished until the engine bay receives attention. Use a degreaser spray on plastic and metal surfaces, agitate with a soft brush, and rinse gently with a low-pressure stream of water. Avoid directly spraying electrical components, sensors, and the alternator. After rinsing, start the engine and let it run for 10 minutes to dry residual moisture, then apply a plastic dressing to restore the black trim and hoses to a like-new appearance. For the exterior, after washing and drying, apply a clay bar treatment to remove embedded contaminants that washing cannot remove. Follow up with a synthetic sealant or ceramic spray coating that provides months of protection against UV rays, bird droppings, and road salt. Finish with a dedicated glass cleaner on all windows and apply a tire dressing to the sidewalls for that final showroom-ready appearance.
Paint Correction: From Swirls to Showroom Shine
Paint correction is the process of removing minor imperfections from your vehicle clear coat to restore depth and gloss. Even with careful washing, most car finishes develop fine swirl marks over time from contact with dust, drying towels, and automated car washes. These micro-scratches scatter light rather than reflecting it, giving the paint a dull, hazy appearance. A dual-action polisher with a fine cutting compound can remove these swirls safely without burning through the clear coat. Start with the least aggressive method, a medium-cut pad and a fine polish, and check your progress frequently. After compounding, switch to a finishing pad with a finer polish to refine the surface. The final step is applying a high-quality wax or paint sealant that locks in the correction and provides months of protection.
Seasonal Detailing Considerations
Adjusting your detailing routine for seasonal conditions protects your vehicle year-round. Winter is the most challenging season, as road salt, sand, and chemical deicers accelerate corrosion. During winter months, increase your washing frequency to every one to two weeks, focusing on the undercarriage where salt accumulates most aggressively. Applying an extra layer of sealant or wax before winter provides a sacrificial barrier. In spring, perform a thorough decontamination wash to remove winter buildup, including iron fallout remover. Summer detailing focuses on UV protection, as intense sunlight degrades both paint and interior materials. Use a UV-protectant spray on dashboard surfaces and door panels to prevent cracking and fading. Fall is the ideal time for a comprehensive detail before winter, including paint correction if needed and a fresh layer of sealant.